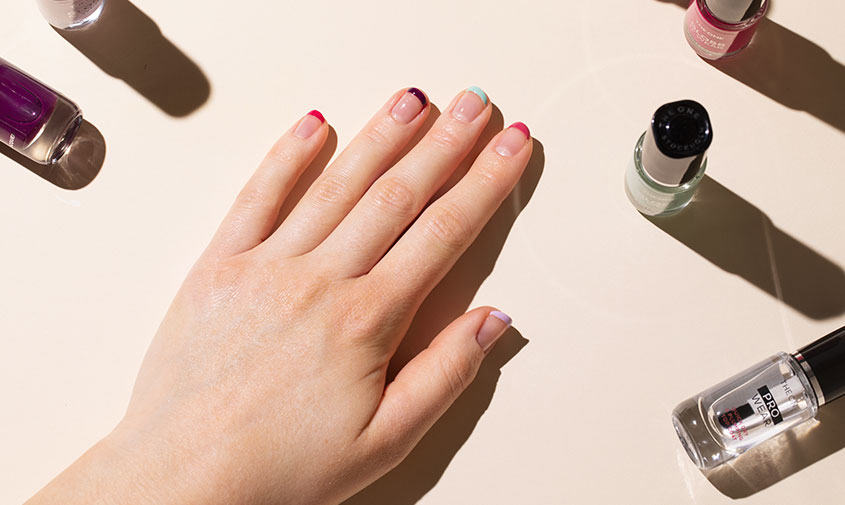
1. BASE COAT
Start off by painting one layer of our Pro Wear Priming Base Coat. Then choose complementary polish colours for your tips that will look great together. We went for bold shades from our Gloss N’ Wear Nail Lacquer range in Cupcake Rose Cream, Boysenberry Touch Cream, Icy Lavender Cream, Fuchsia Allure Cream and Turquoise Bliss Cream.
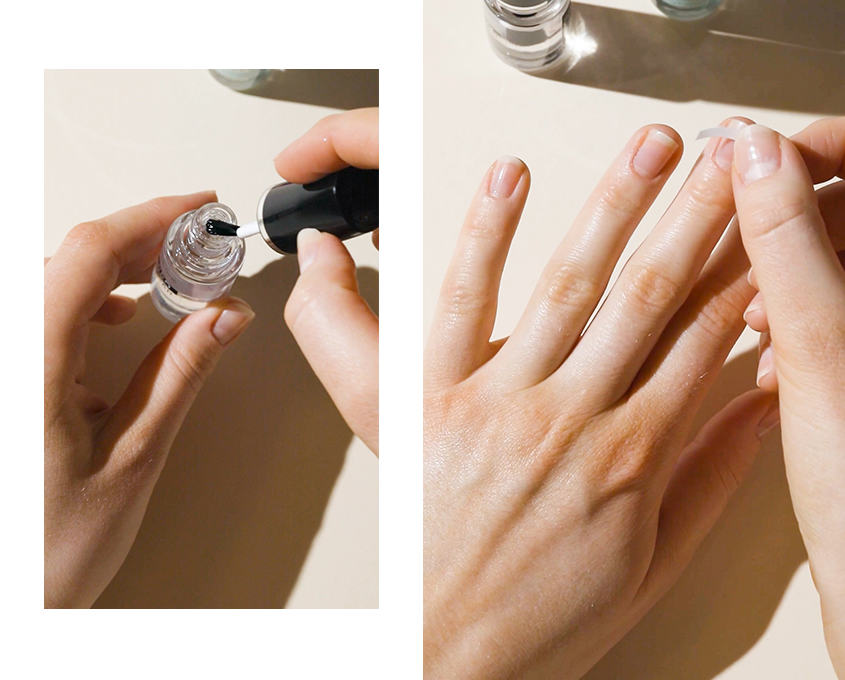
2. APPLY YOUR STENCILS
To draw your French manicure tips it’s helpful to use stencils so the line is nice and defined. Also helpful is a skinny brush for a precise application; to create this tool at home, take an old nail polish brush and cut it in half so the bristles are thinner.
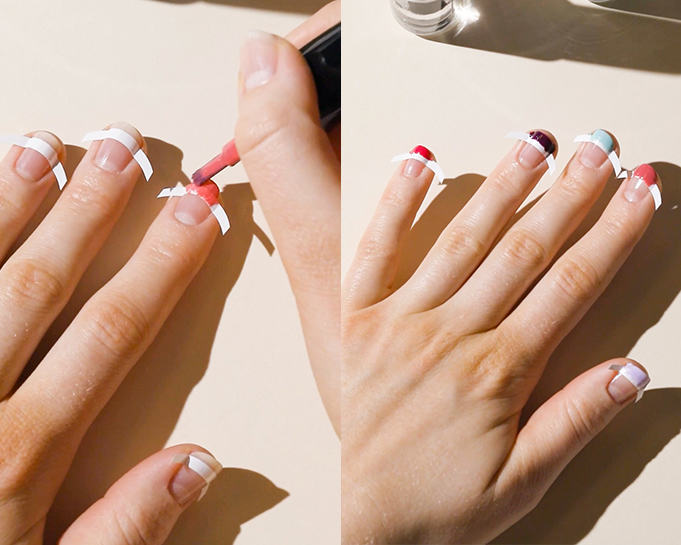
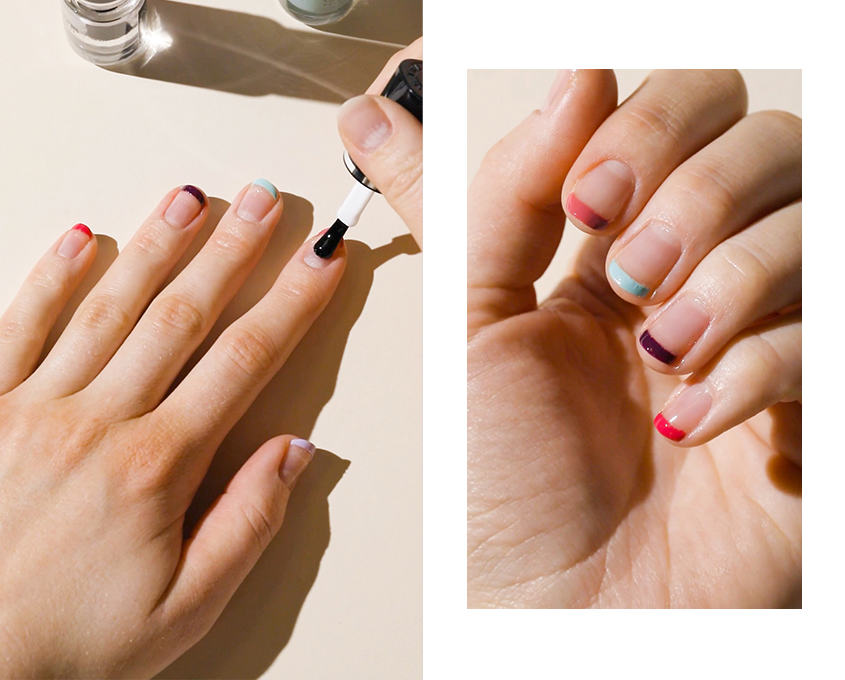
3. THE FRENCH TIP
Dip the cut brush into your nail polish colour of choice, and then paint your tip horizontally, from one side to the other; apply two coats. If necessary tidy up any excess polish with a Q-tip dipped in nail polish remover.
4. TOP COAT
Allow the polish on the tips to dry completely, and then seal the look with another layer of your base coat. Add our Pro Wear Quick Dry & Plumping Top Coat for extra stay and shine and voila!