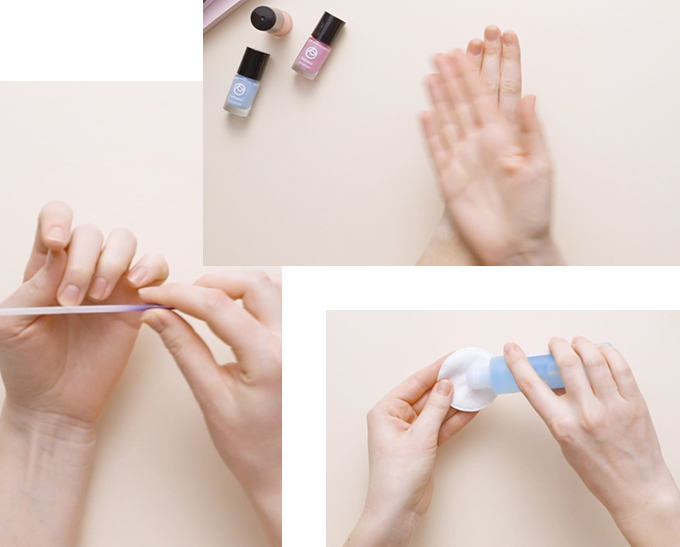
1. Prep Your Nails
Start by filing your nails to the shape of your liking. Oval, square, stilleto? The choice is yours.
Don’t forget to moisturise your hands - a major part of manicure maintenance is keeping your nails and cuticles hydrated, especially when you're washing your hands often (hello, pandemic!) This will restore moisture and also help prevent chipping and splitting of your cuticles.
Finally, go over each nail with nail polish remover in a circular motion. This will ensure that any grease from your hand moisturiser doesn’t stick, along with removing any trace of dust that will keep the new nail polish from sticking.
We used The ONE Expert Care Fast & Gentle Nail Polish Remover.
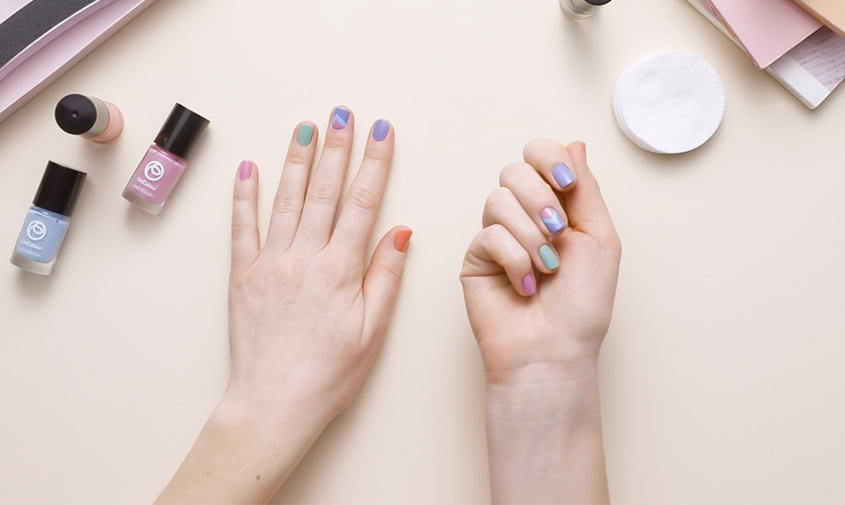
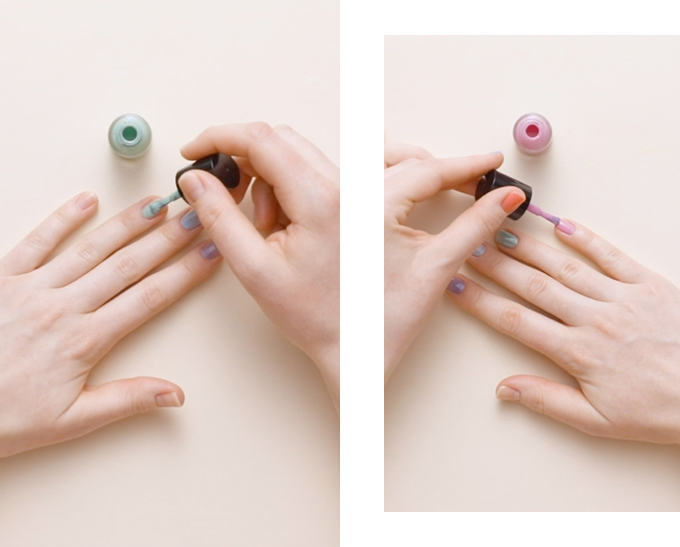
2. Choose Your Colour(s)
Start by selecting a few pastel colours that you like. Then apply a different colour to each nail. Repeat on the opposite hand and let your nails dry.
We used OnColour Cloud Blue, Minty Green, Candy Lavender, Pink Lilac, Peach Pink, and of course, Top Coat!
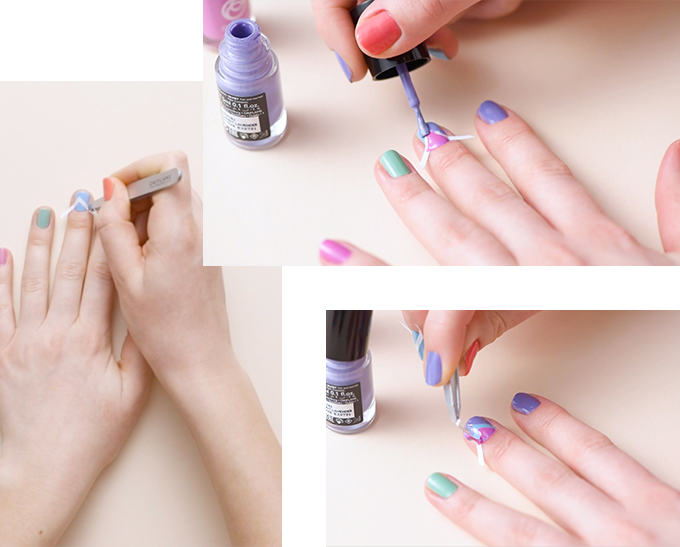
3. Contrasting V Shapes
Place a V-shaped stencil over the nails on your middle fingers, securing the stencil to the nail with tweezers. Now, start creating your shapes with different contrasting colours. Be creative!
Apply one colour below the V – from your cuticle upwards – and another colour on top of the V. When dry, pull the stencil off with tweezers.
It's important that the base colour (STEP 2) is dry before applying the stencil - but when you apply the nail polish on top you’ll want to take the stencil off as quickly as possible before the nail polish dries.
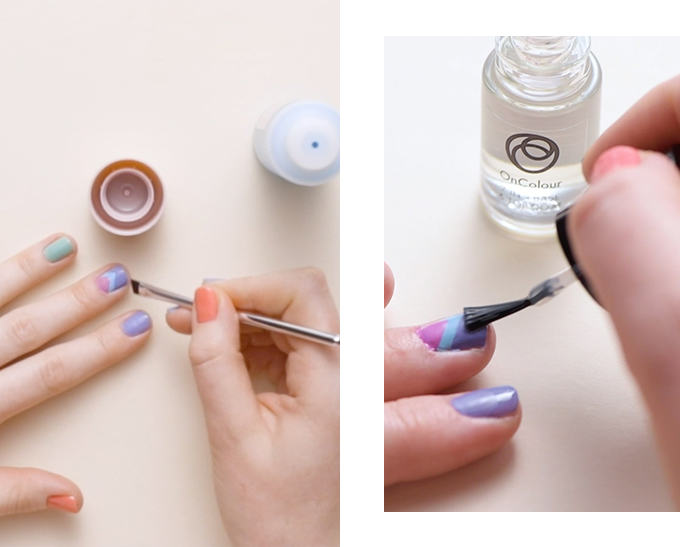
4. Clean Up Any Mistakes
Pour a small amount of nail polish remover into the cap and with a nail polish remover brush clean up any colour that may have spilled over onto the cuticle.
5. Remember The Top Coat
Set the manicure with a transparent top coat and enjoy!